 We’re on a bit of a DIY kick at home, and this latest project was inspired by a frame that Jeff and I saw in a shop when he joked: We could totally make it ourselves. And being in a cheeky mood, I decided to hold him to it – after all, we have a bunch of pictures (and post cards!) that need frames.
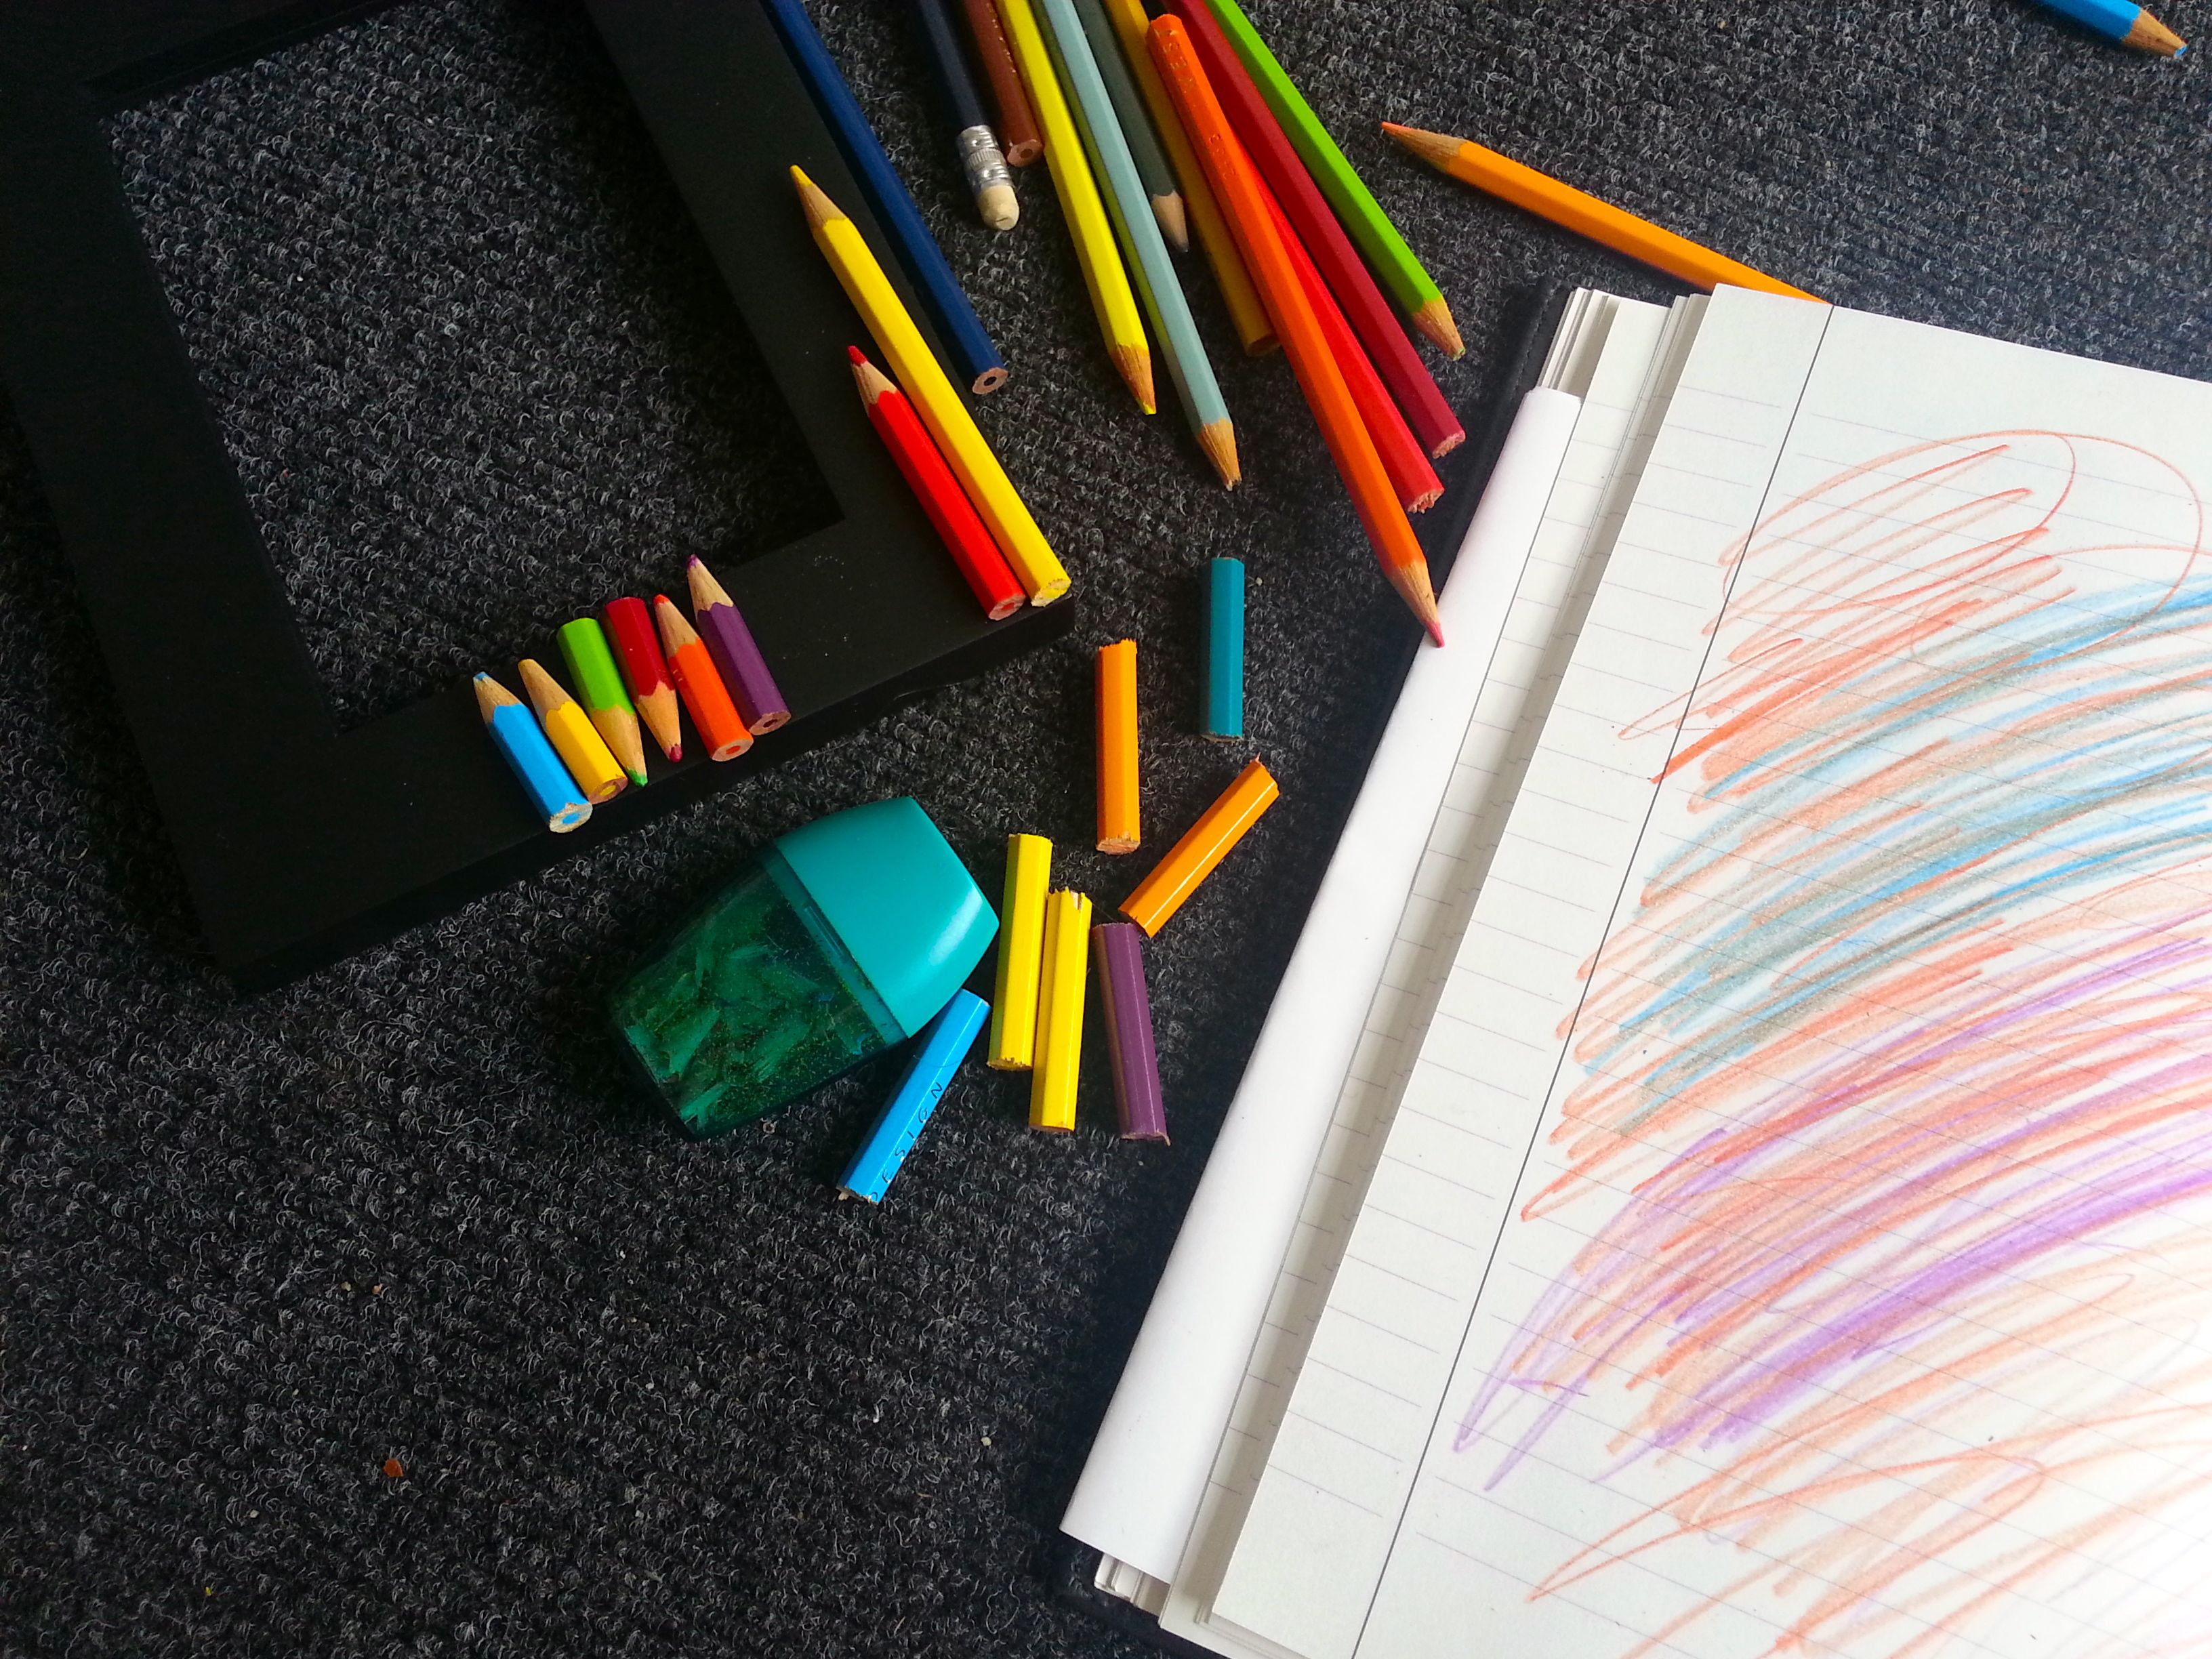
Which is why we recently spent an entire afternoon sawing pencils into bits and then sharpening the tips…
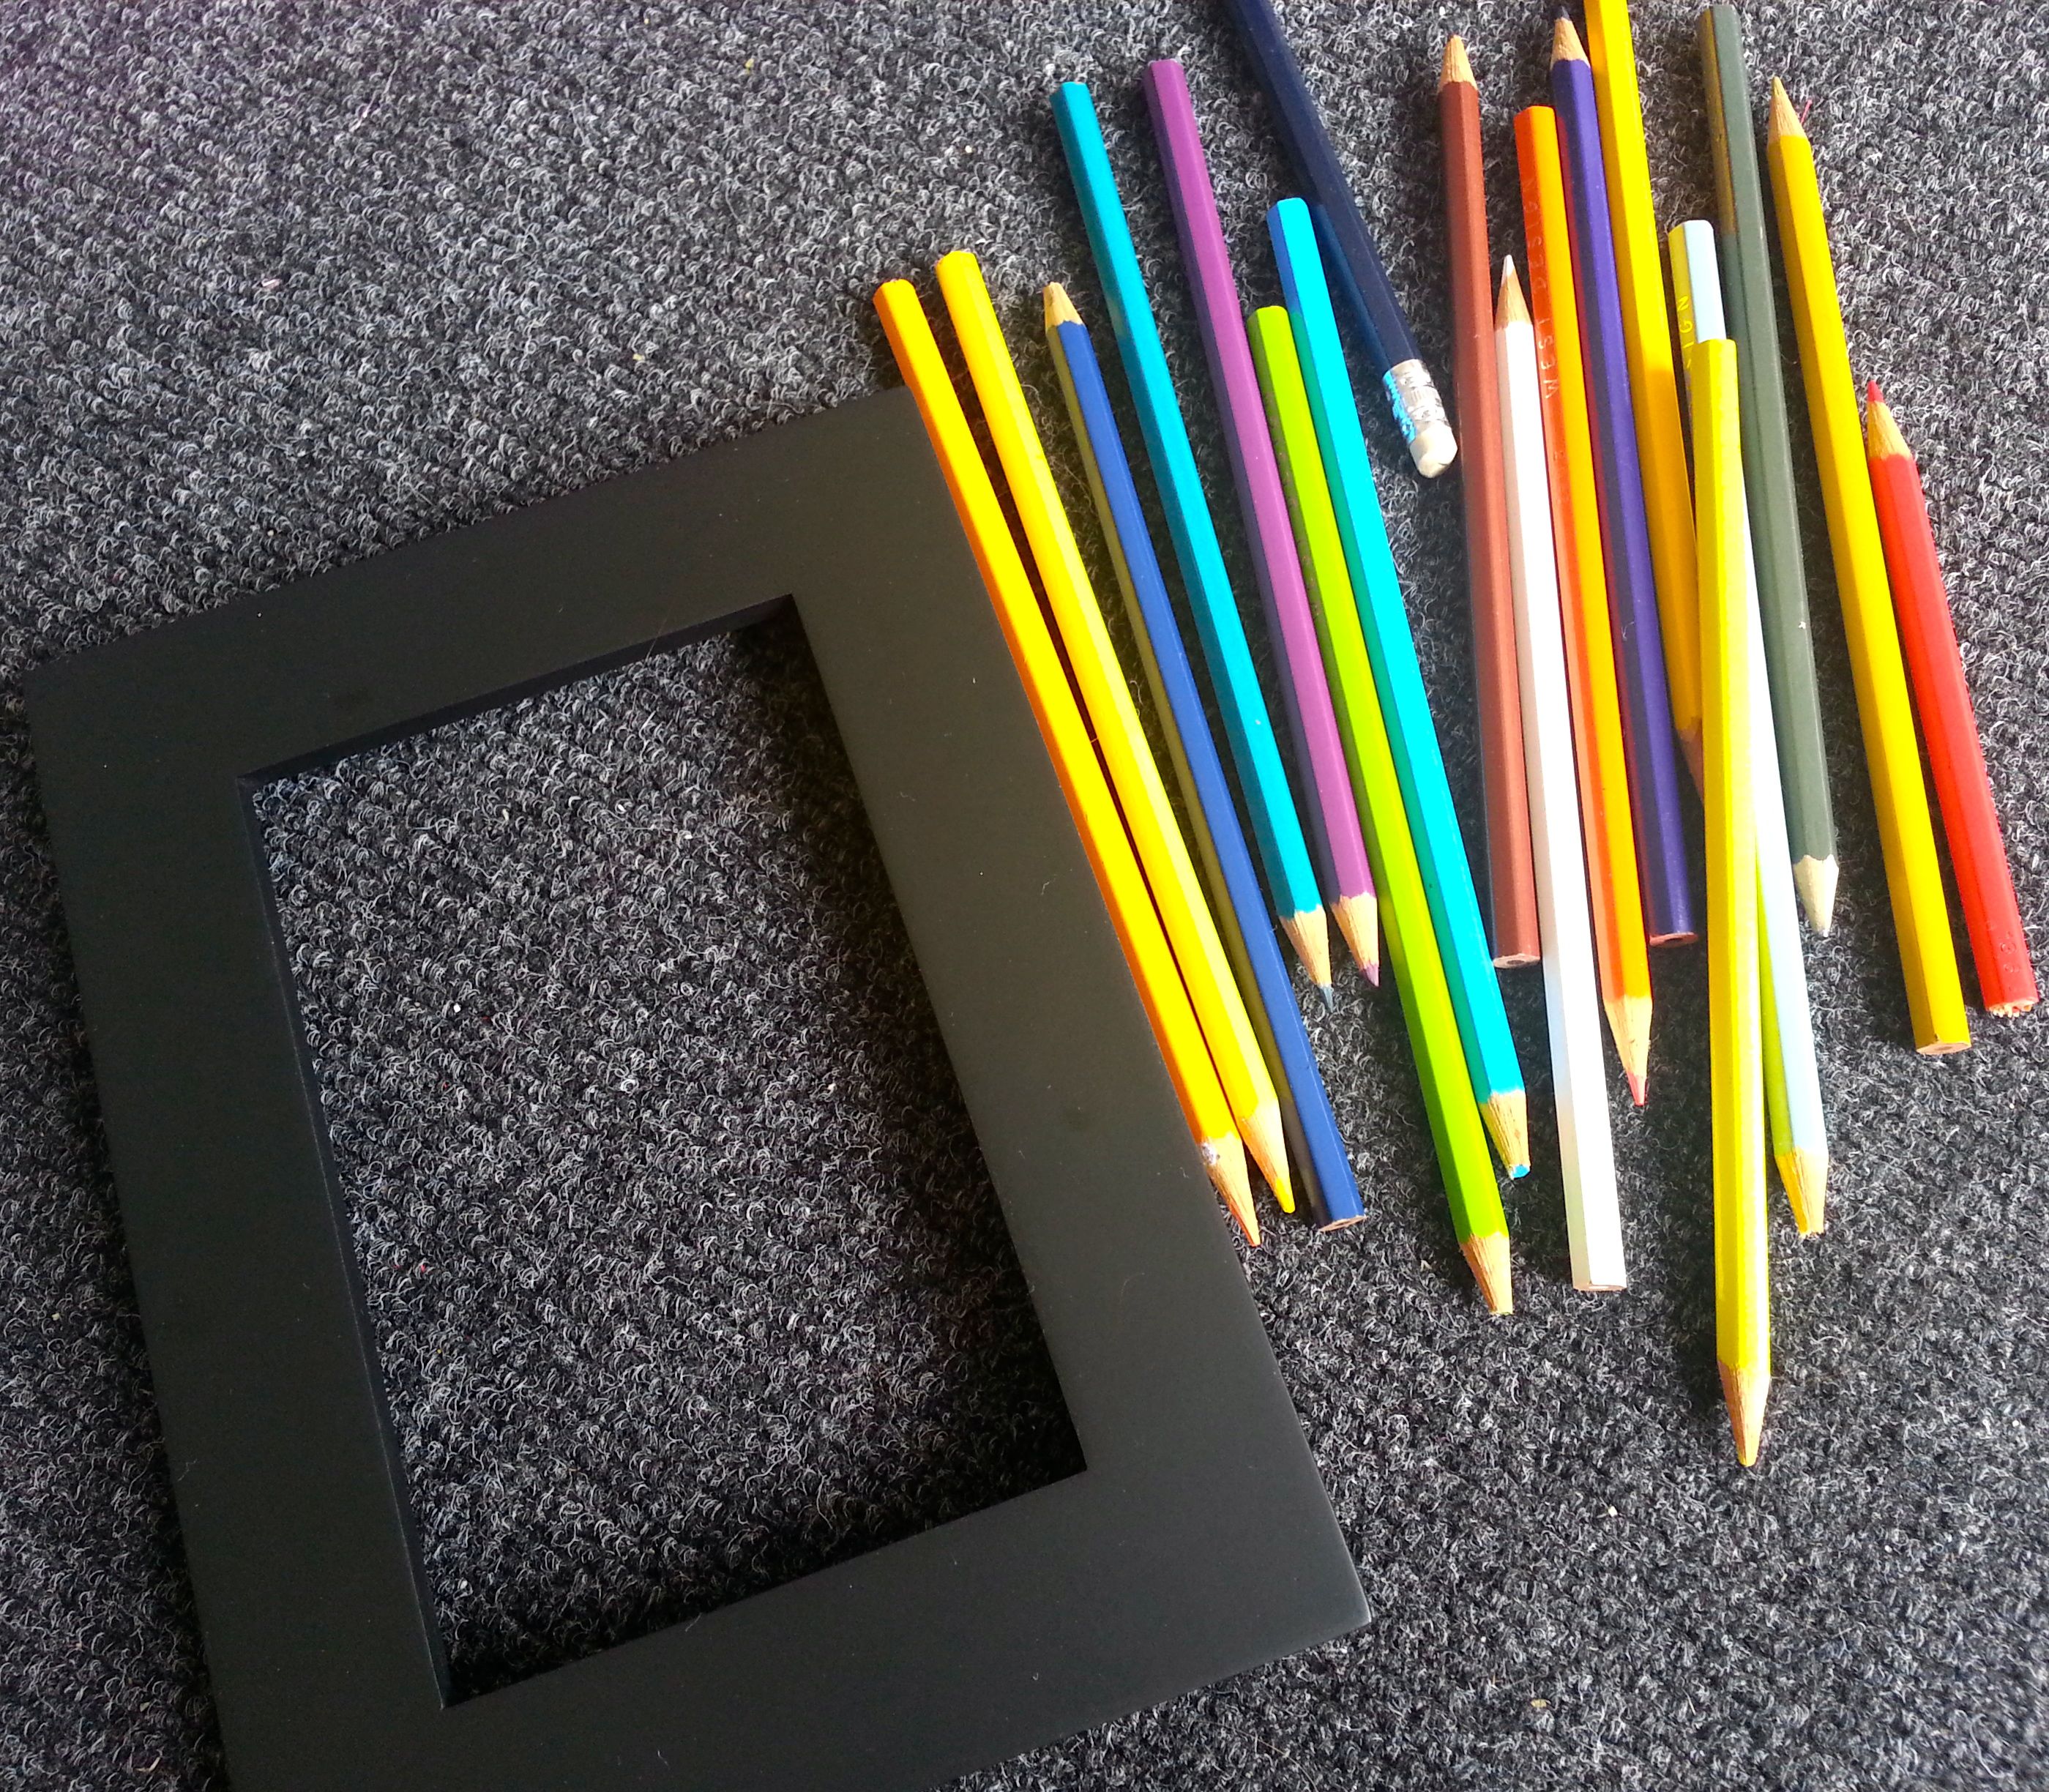
You’ll need:
- Picture frame with a flat front/wide frame (or however big you want it to be to glue the pencils onto!)
- Coloured pencils (we used some old ones we’d had lying around the flat from art projects past that hadn’t been touched in over a year)
- Hot glue gun
- Hacksaw
- Pencil sharpener

Step 1: Cut/sharpen the pencils
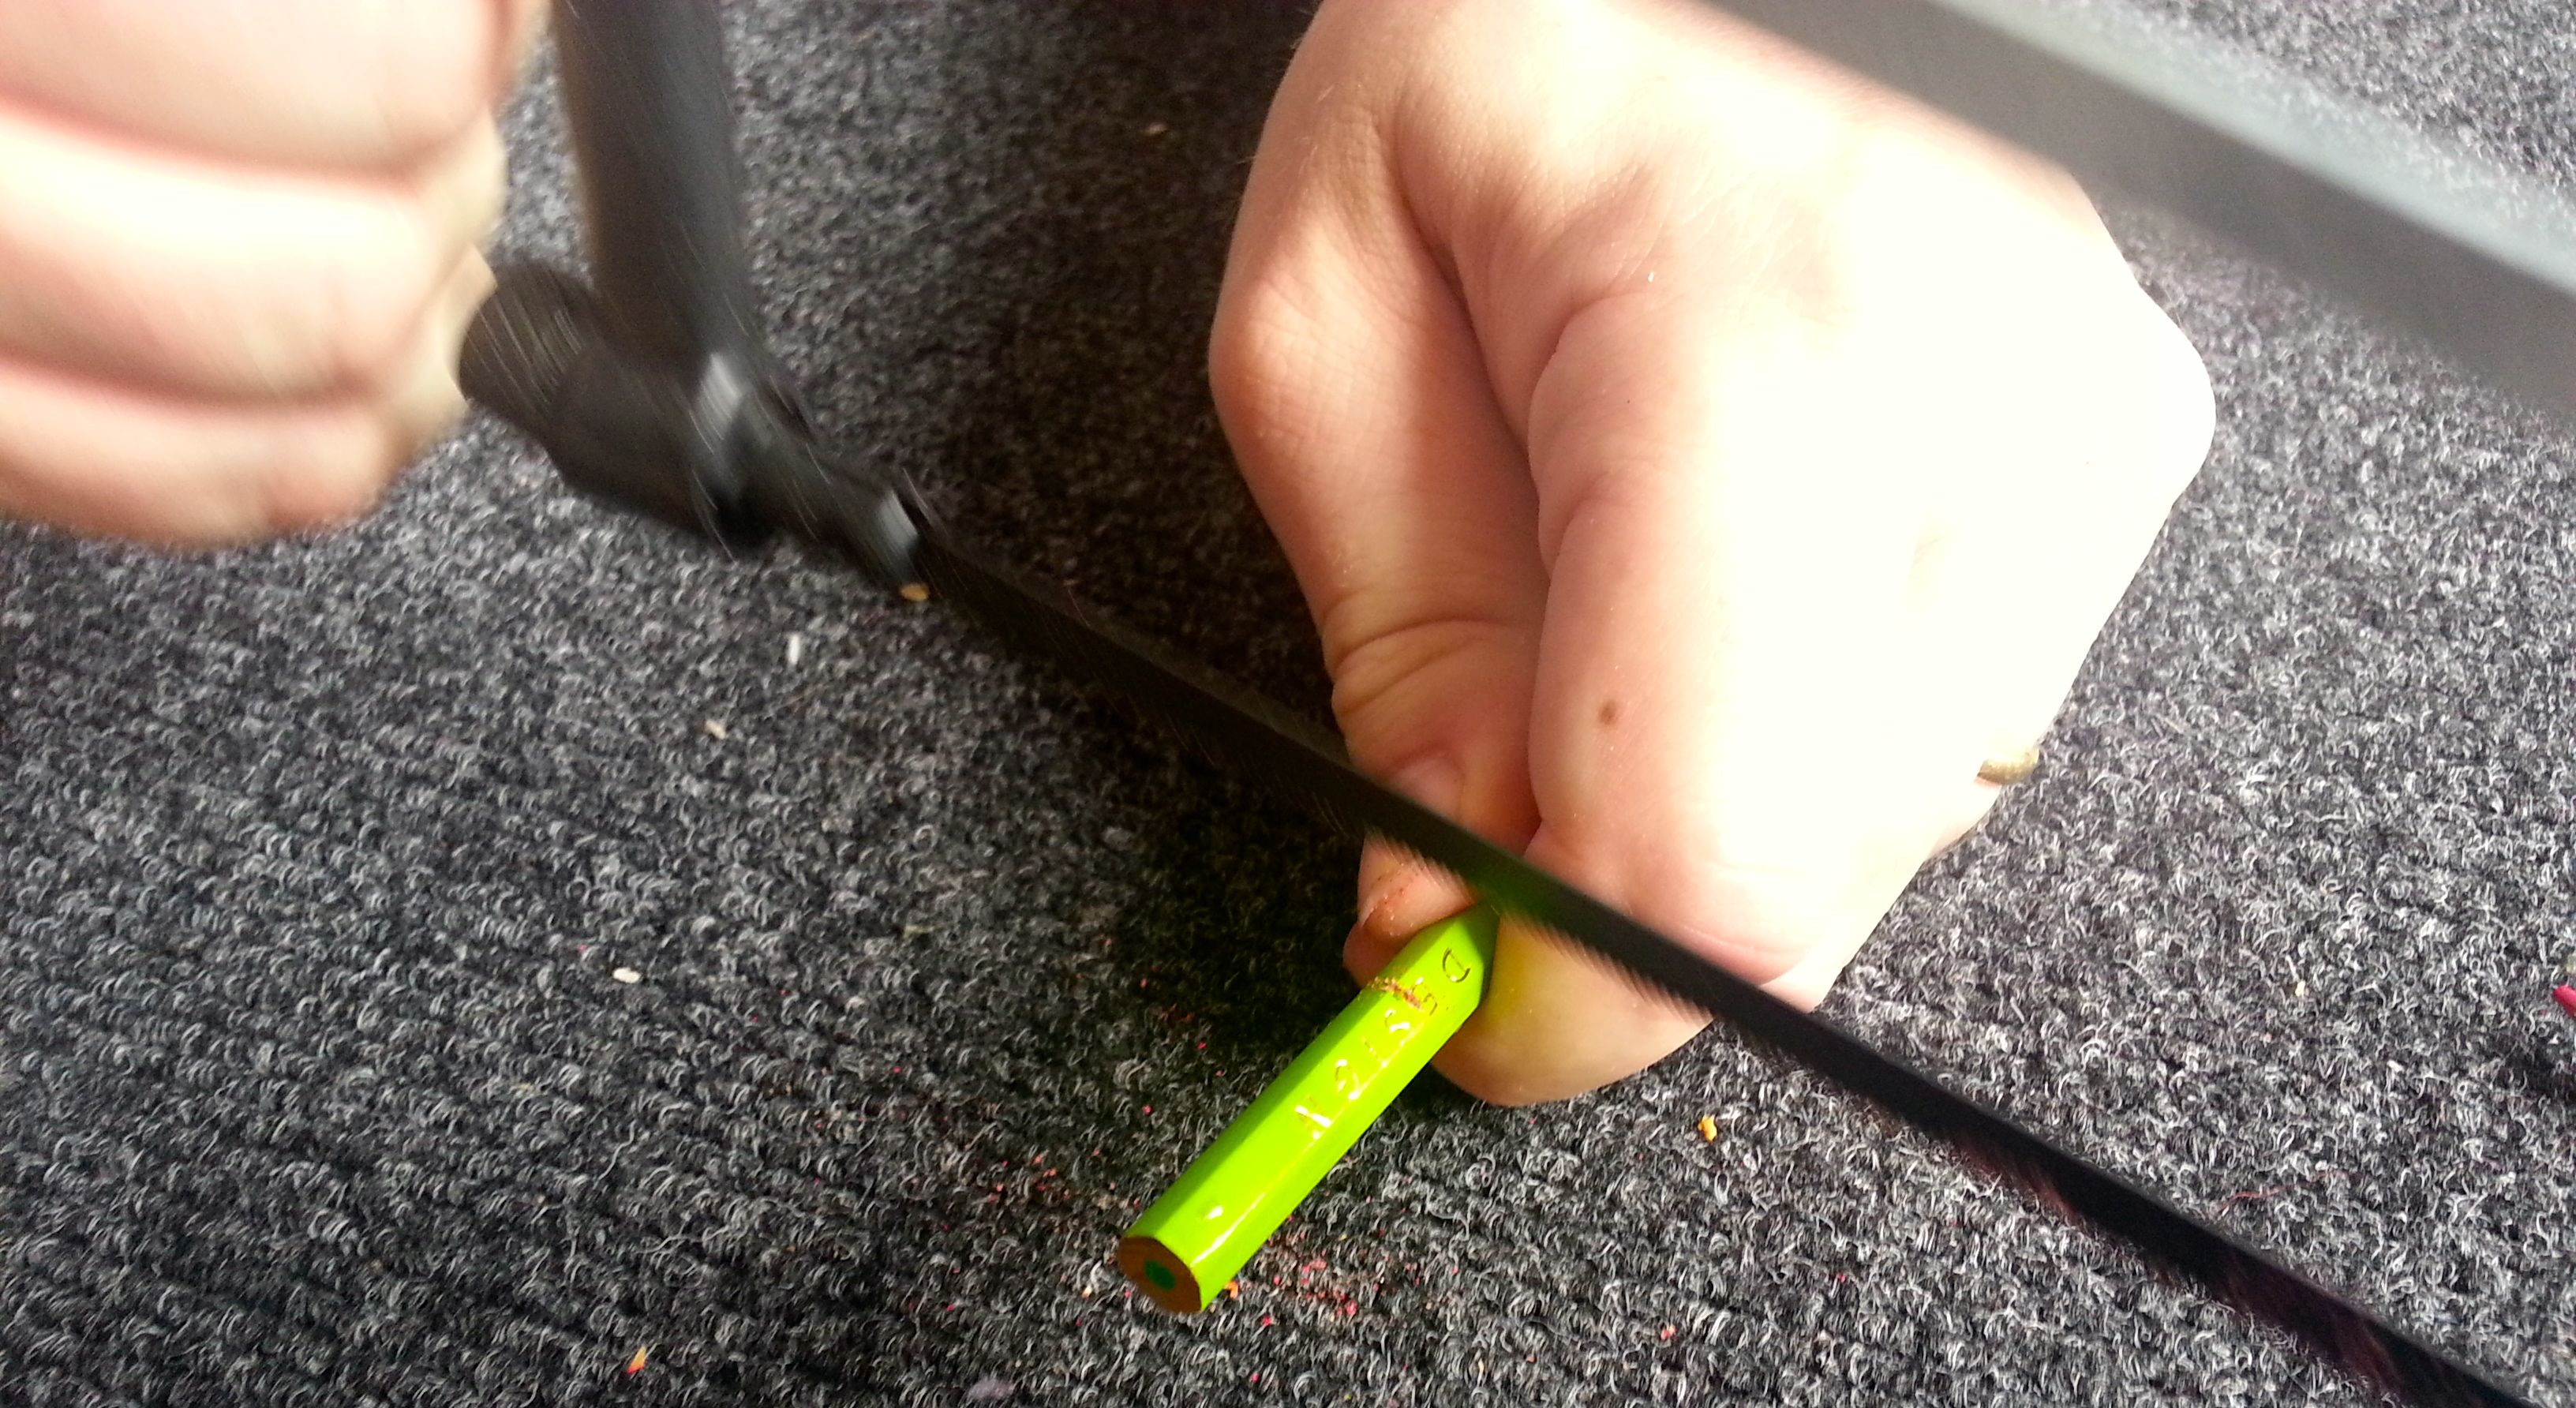
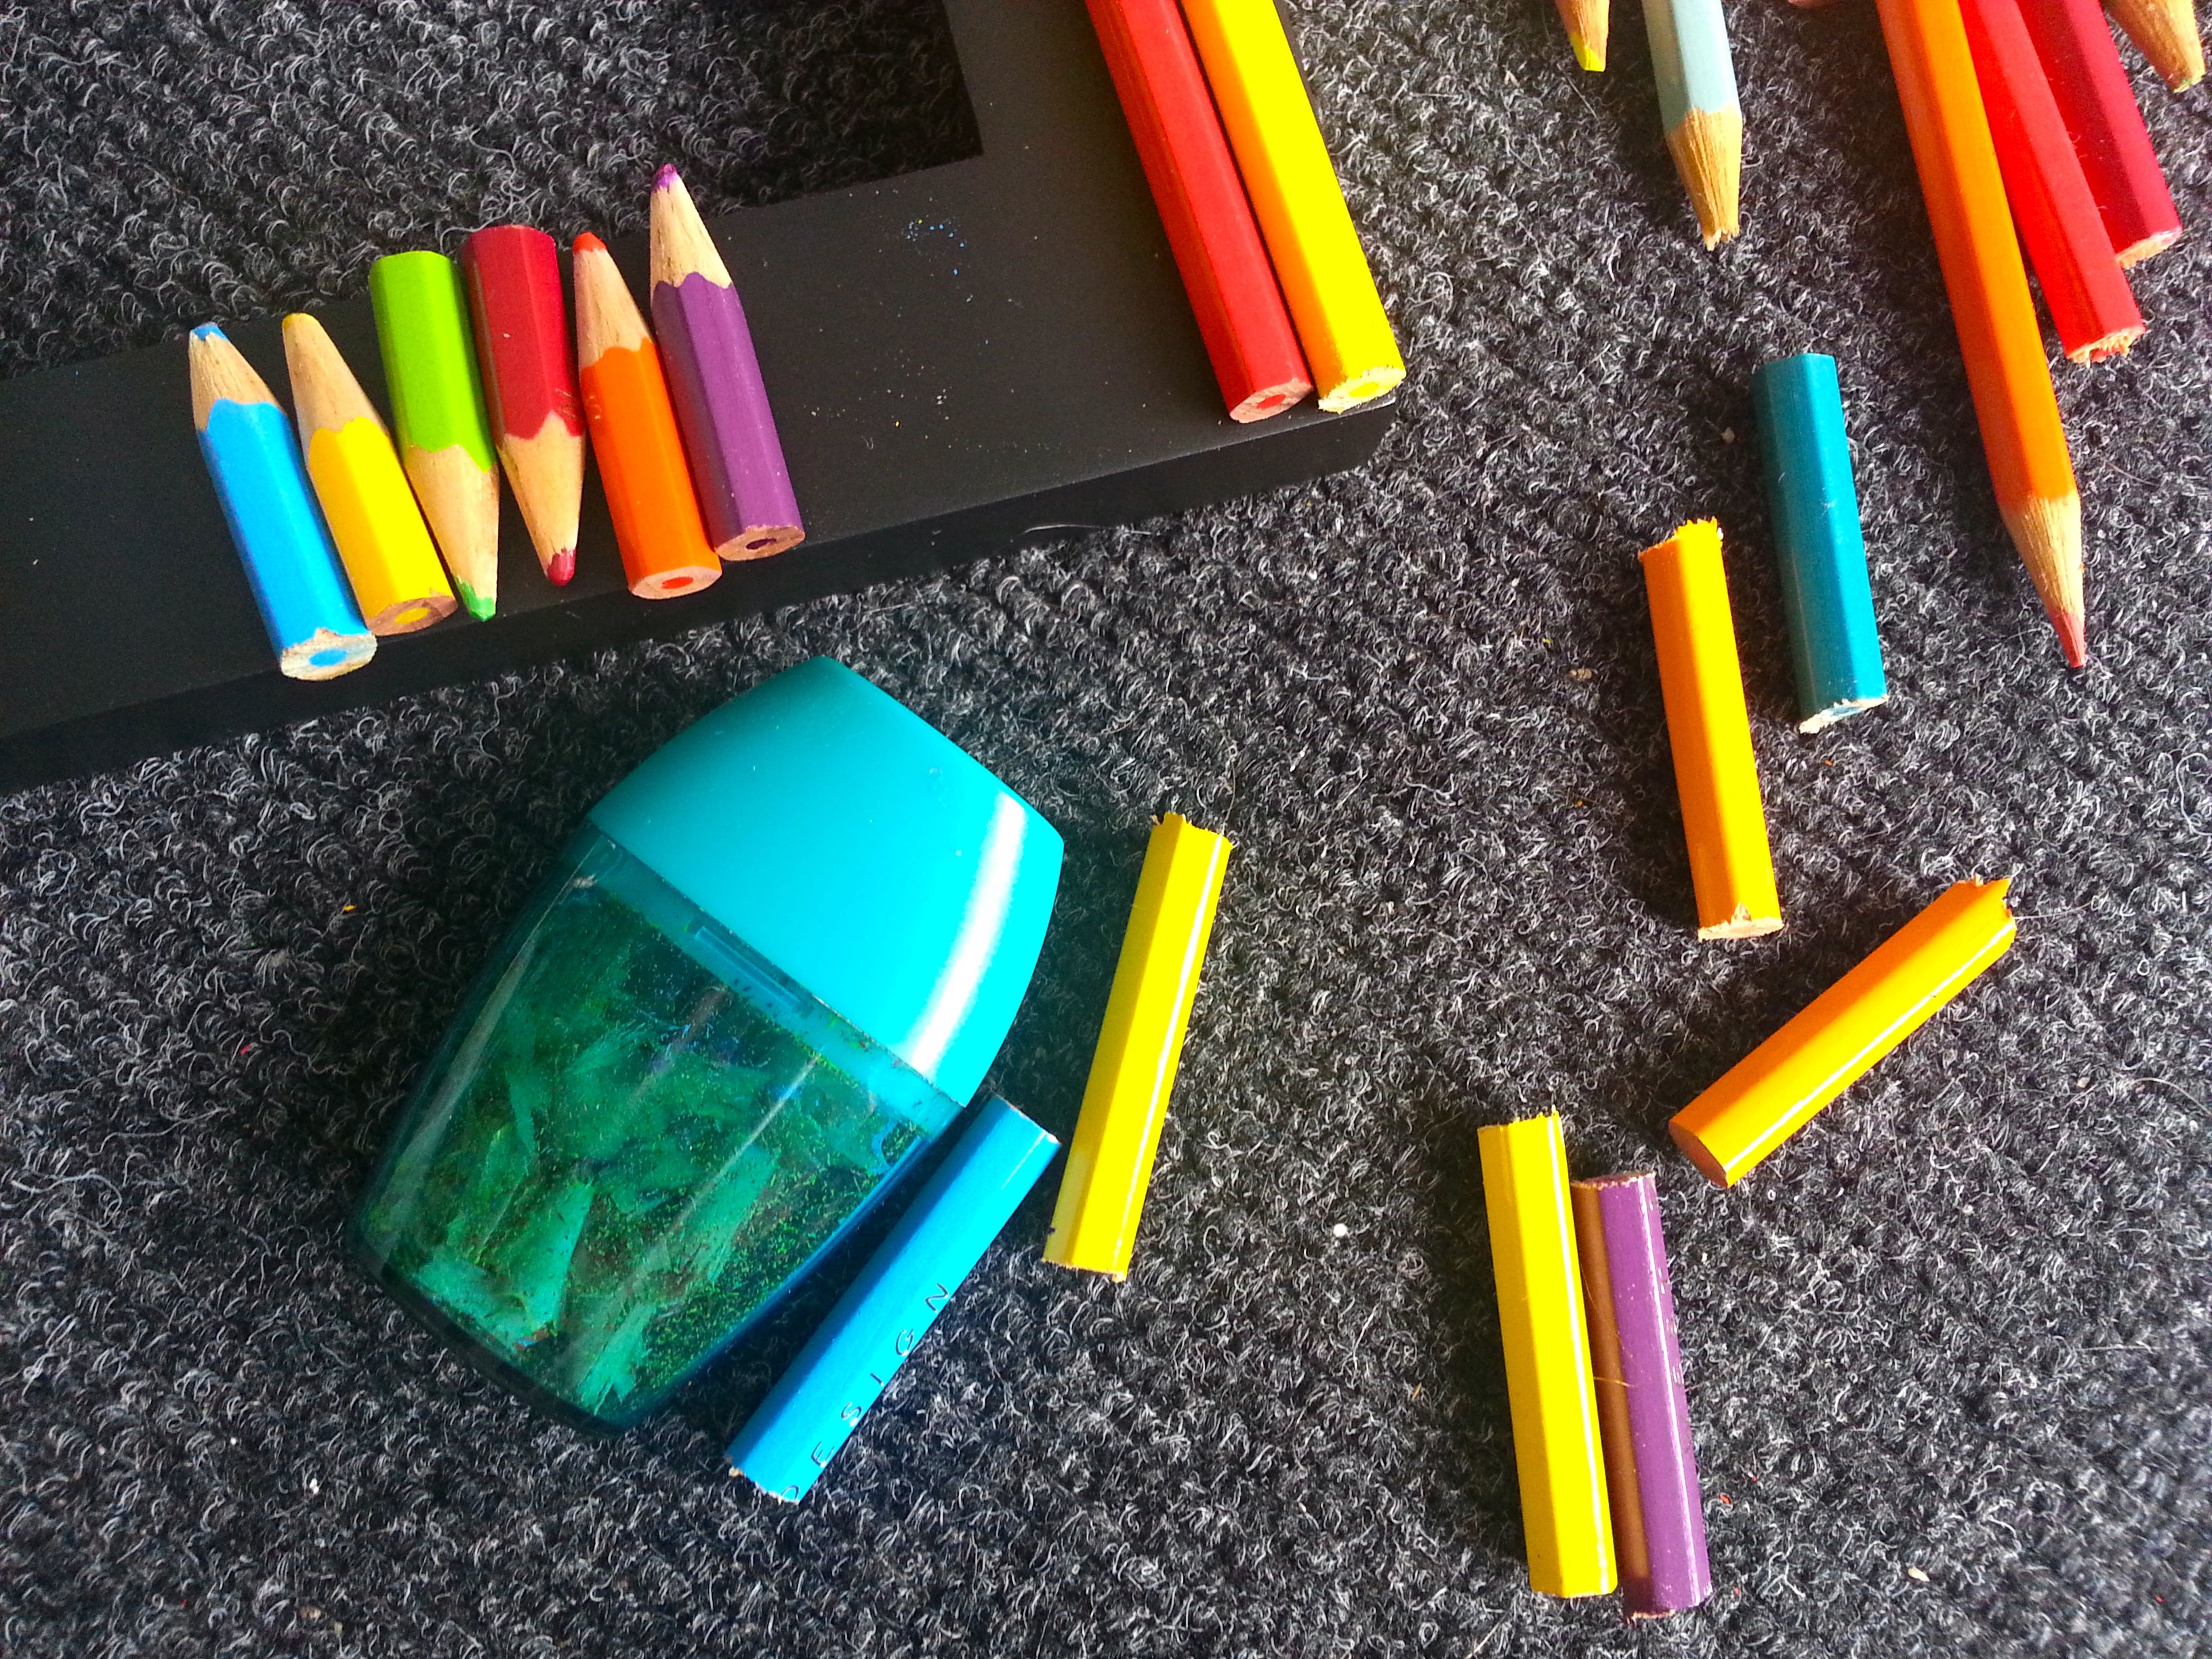

Using the hacksaw, we cut the pencils up to the right size to fit the frame. We had to cut each pencil several times, so we used the sharpener to add new tips. We laid the pencils out as we went to make sure we had enough of the right sizes.
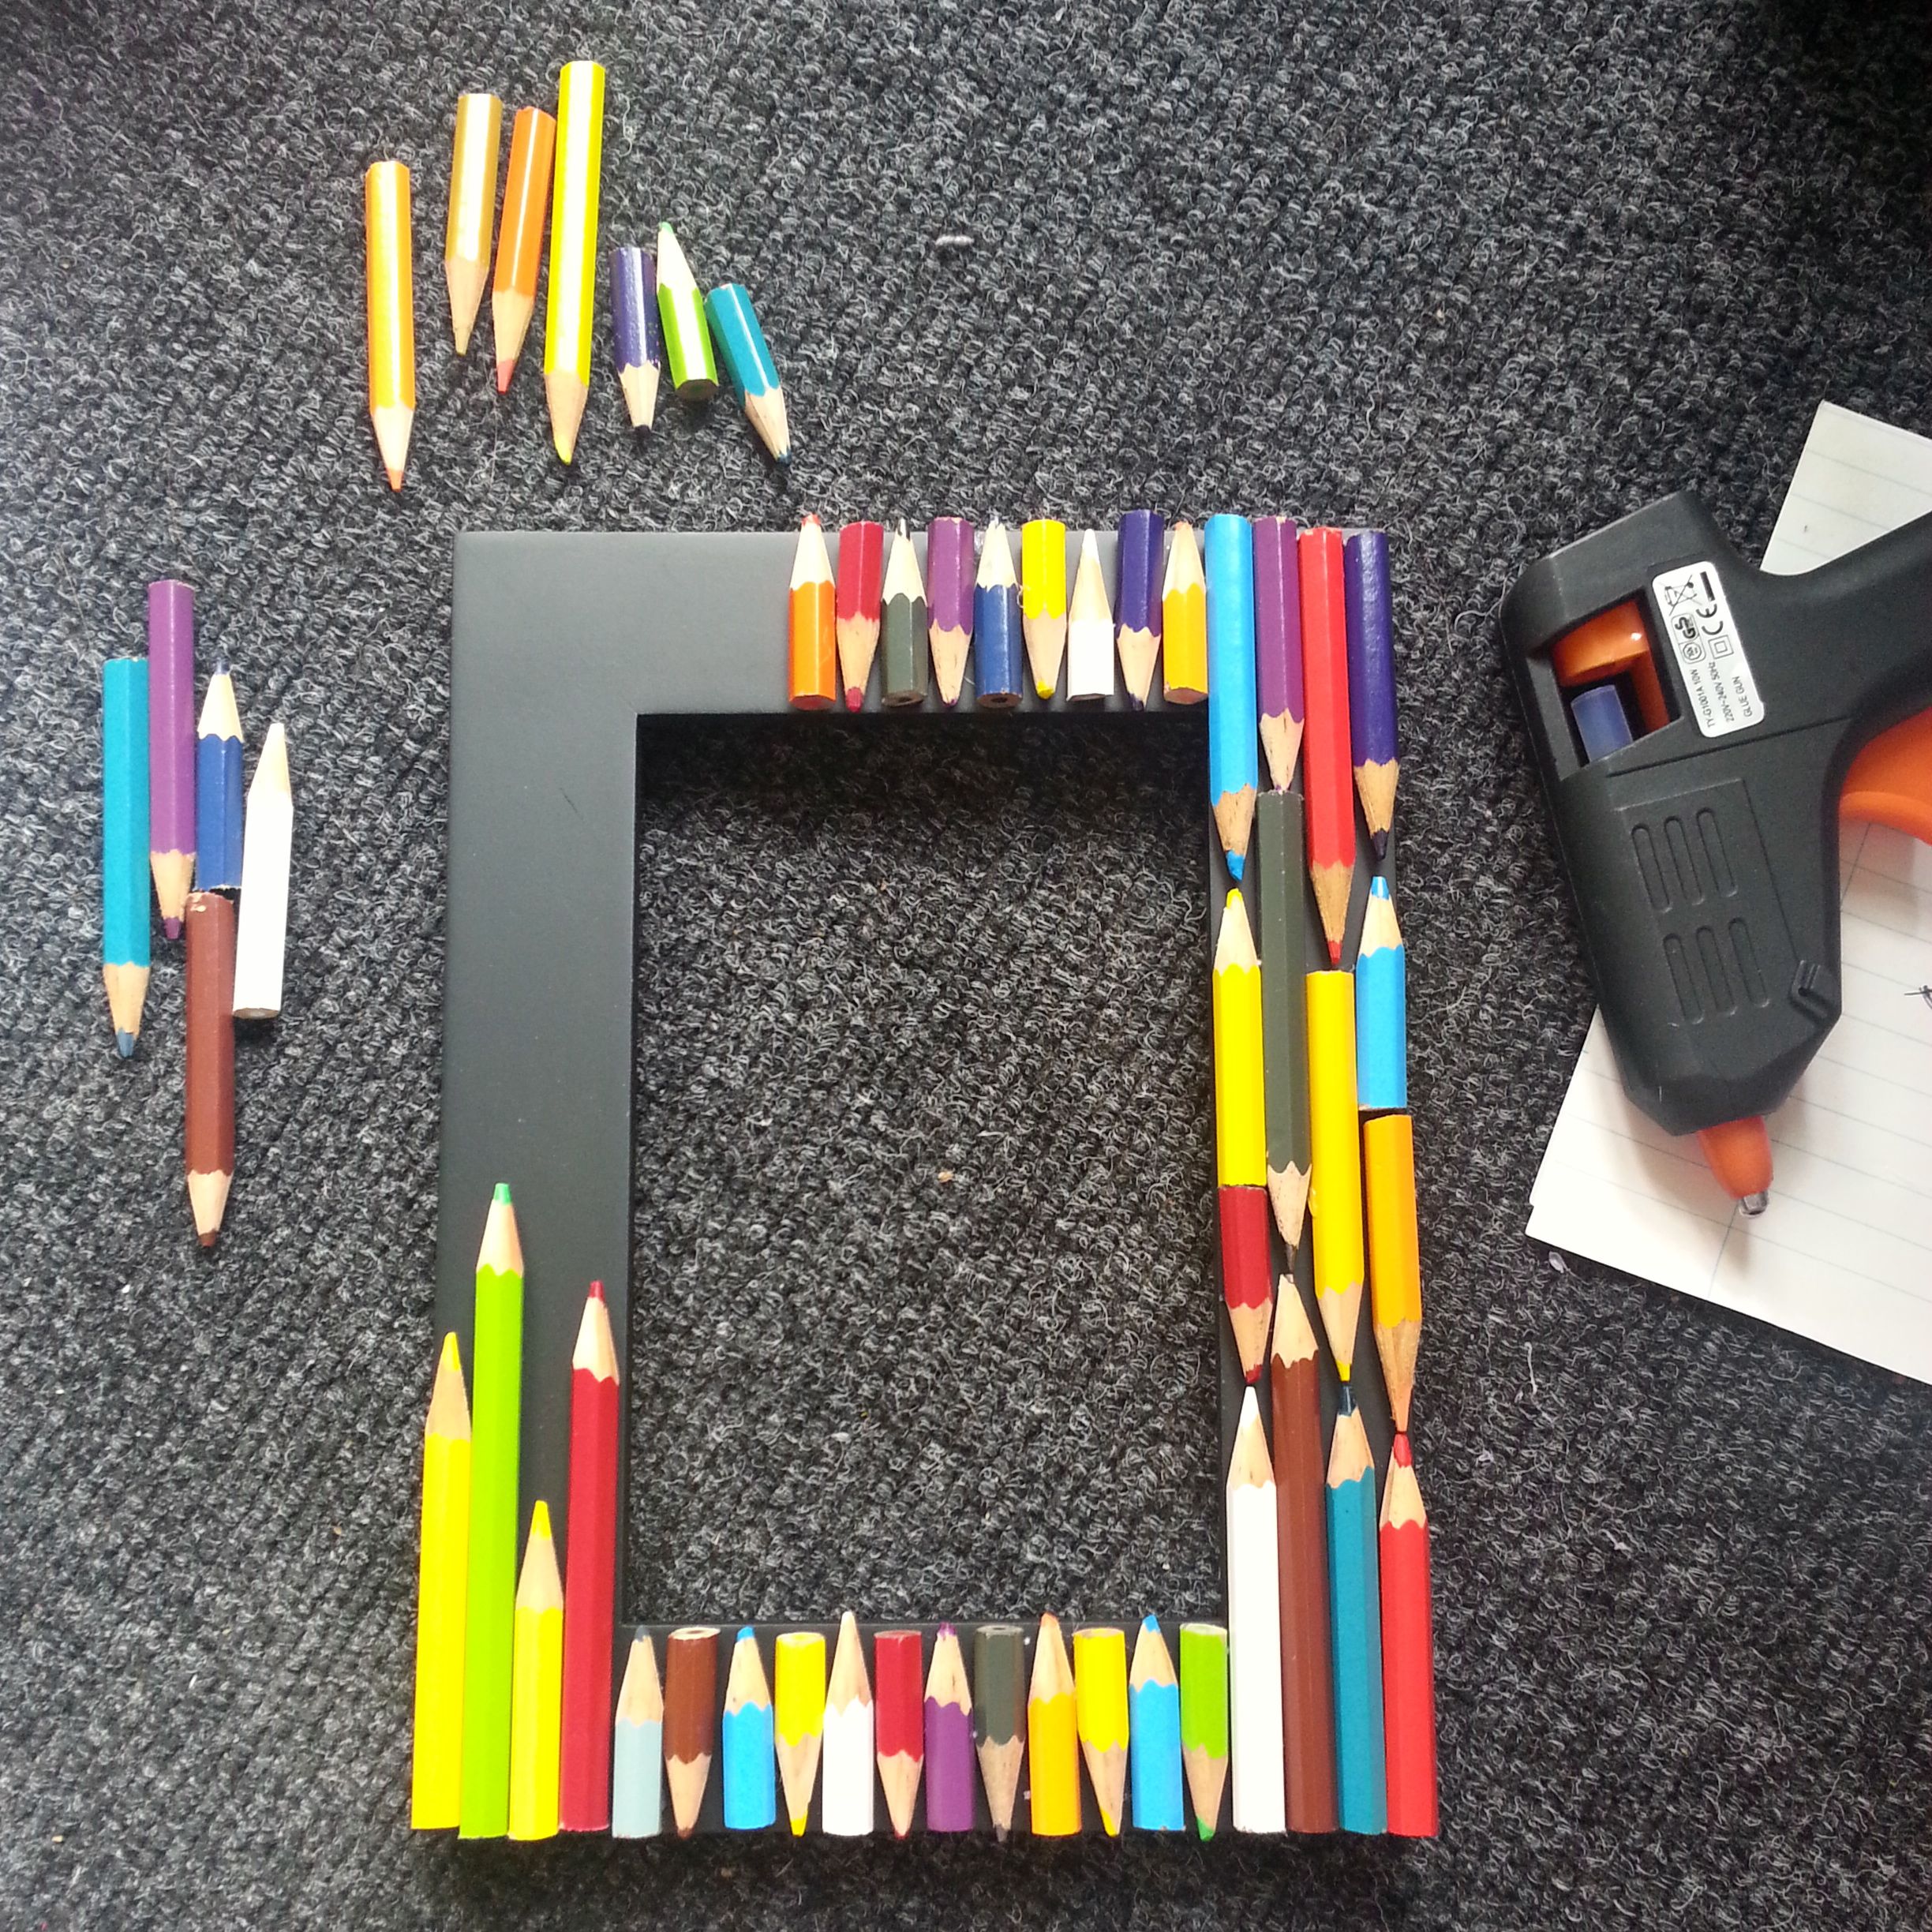
Step 2: Put the pencils in place
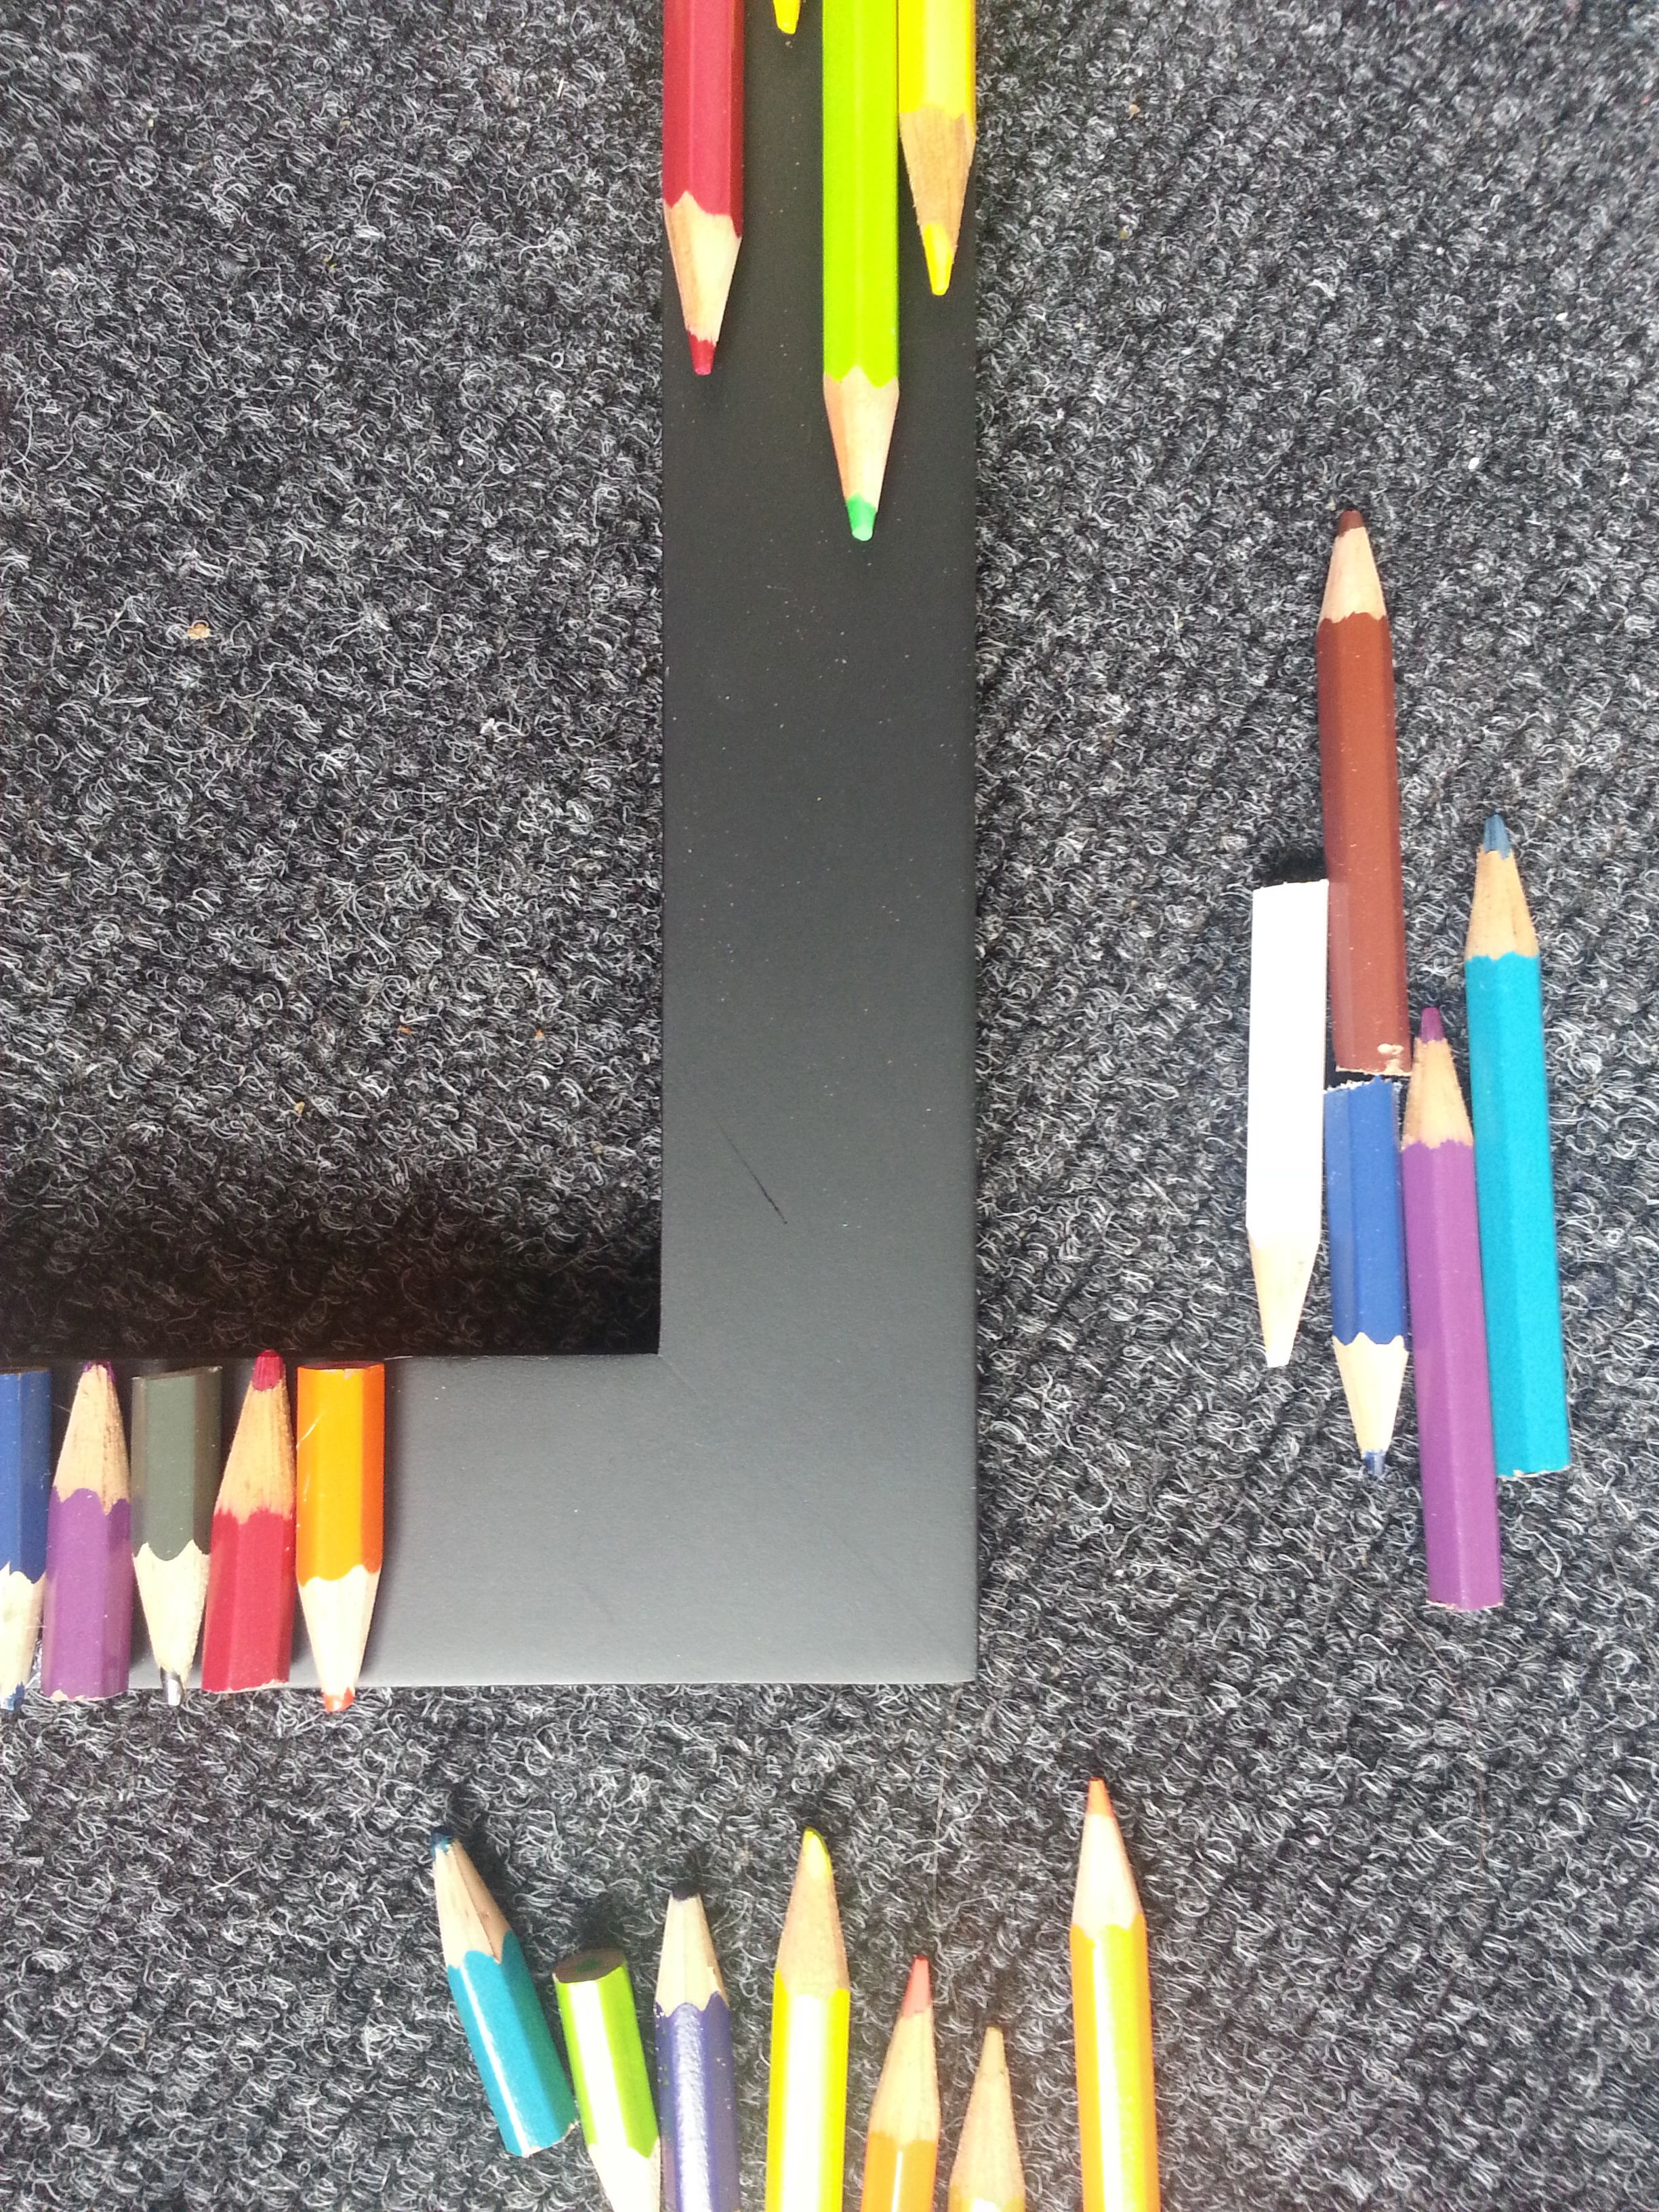

Next we put the pencils on the frame to make sure we were happy with the arrangement and how it looked aesthetically. Which for me also included scribbling with the pencils to wear down the tips so they didn’t look completely new and unused!
Step 3: Glue the pencils down
 Then, finally, we glued them all down with the hot glue gun. Easy peasy. 🙂
Step 4: Frame
 And, well, that’s it! We filled our frame with this postcard that we bought while on honeymoon in Morocco at the Jardin Majorelle.


