Recently I dip dyed my hair green, and I’m really proud to say I (practically) did it all myself.
Why? Well…
- It was just too expensive at a salon
- I wanted to do the touch-up colouring at home
- Dip dyes originated as DIY job… I think
- I was feeling gutsy
And so, here’s what I did to get those results you see.

The morning after: bed head and a glorious DIY dip dye
Plan
I’ve got dark hair so I knew bleaching to the right colour might be difficult. That, and brown hair has a tendency to bleach to orange/copper, which can make getting a nice colour payoff tricky. Luckily, I bleached and dyed my hair loads as a teen (albeit my mom forced me to do this at a salon) so I already knew that this part would be difficult. That, and that purple and blue colours always worked well over my bleached hair (which turned out orange-ish back then).
So I set out a plan:
- Buy bleach and colour
- Do a test run
- Go to my stylist for a hair cut
- Bleach & dye
- Conditioning treatment
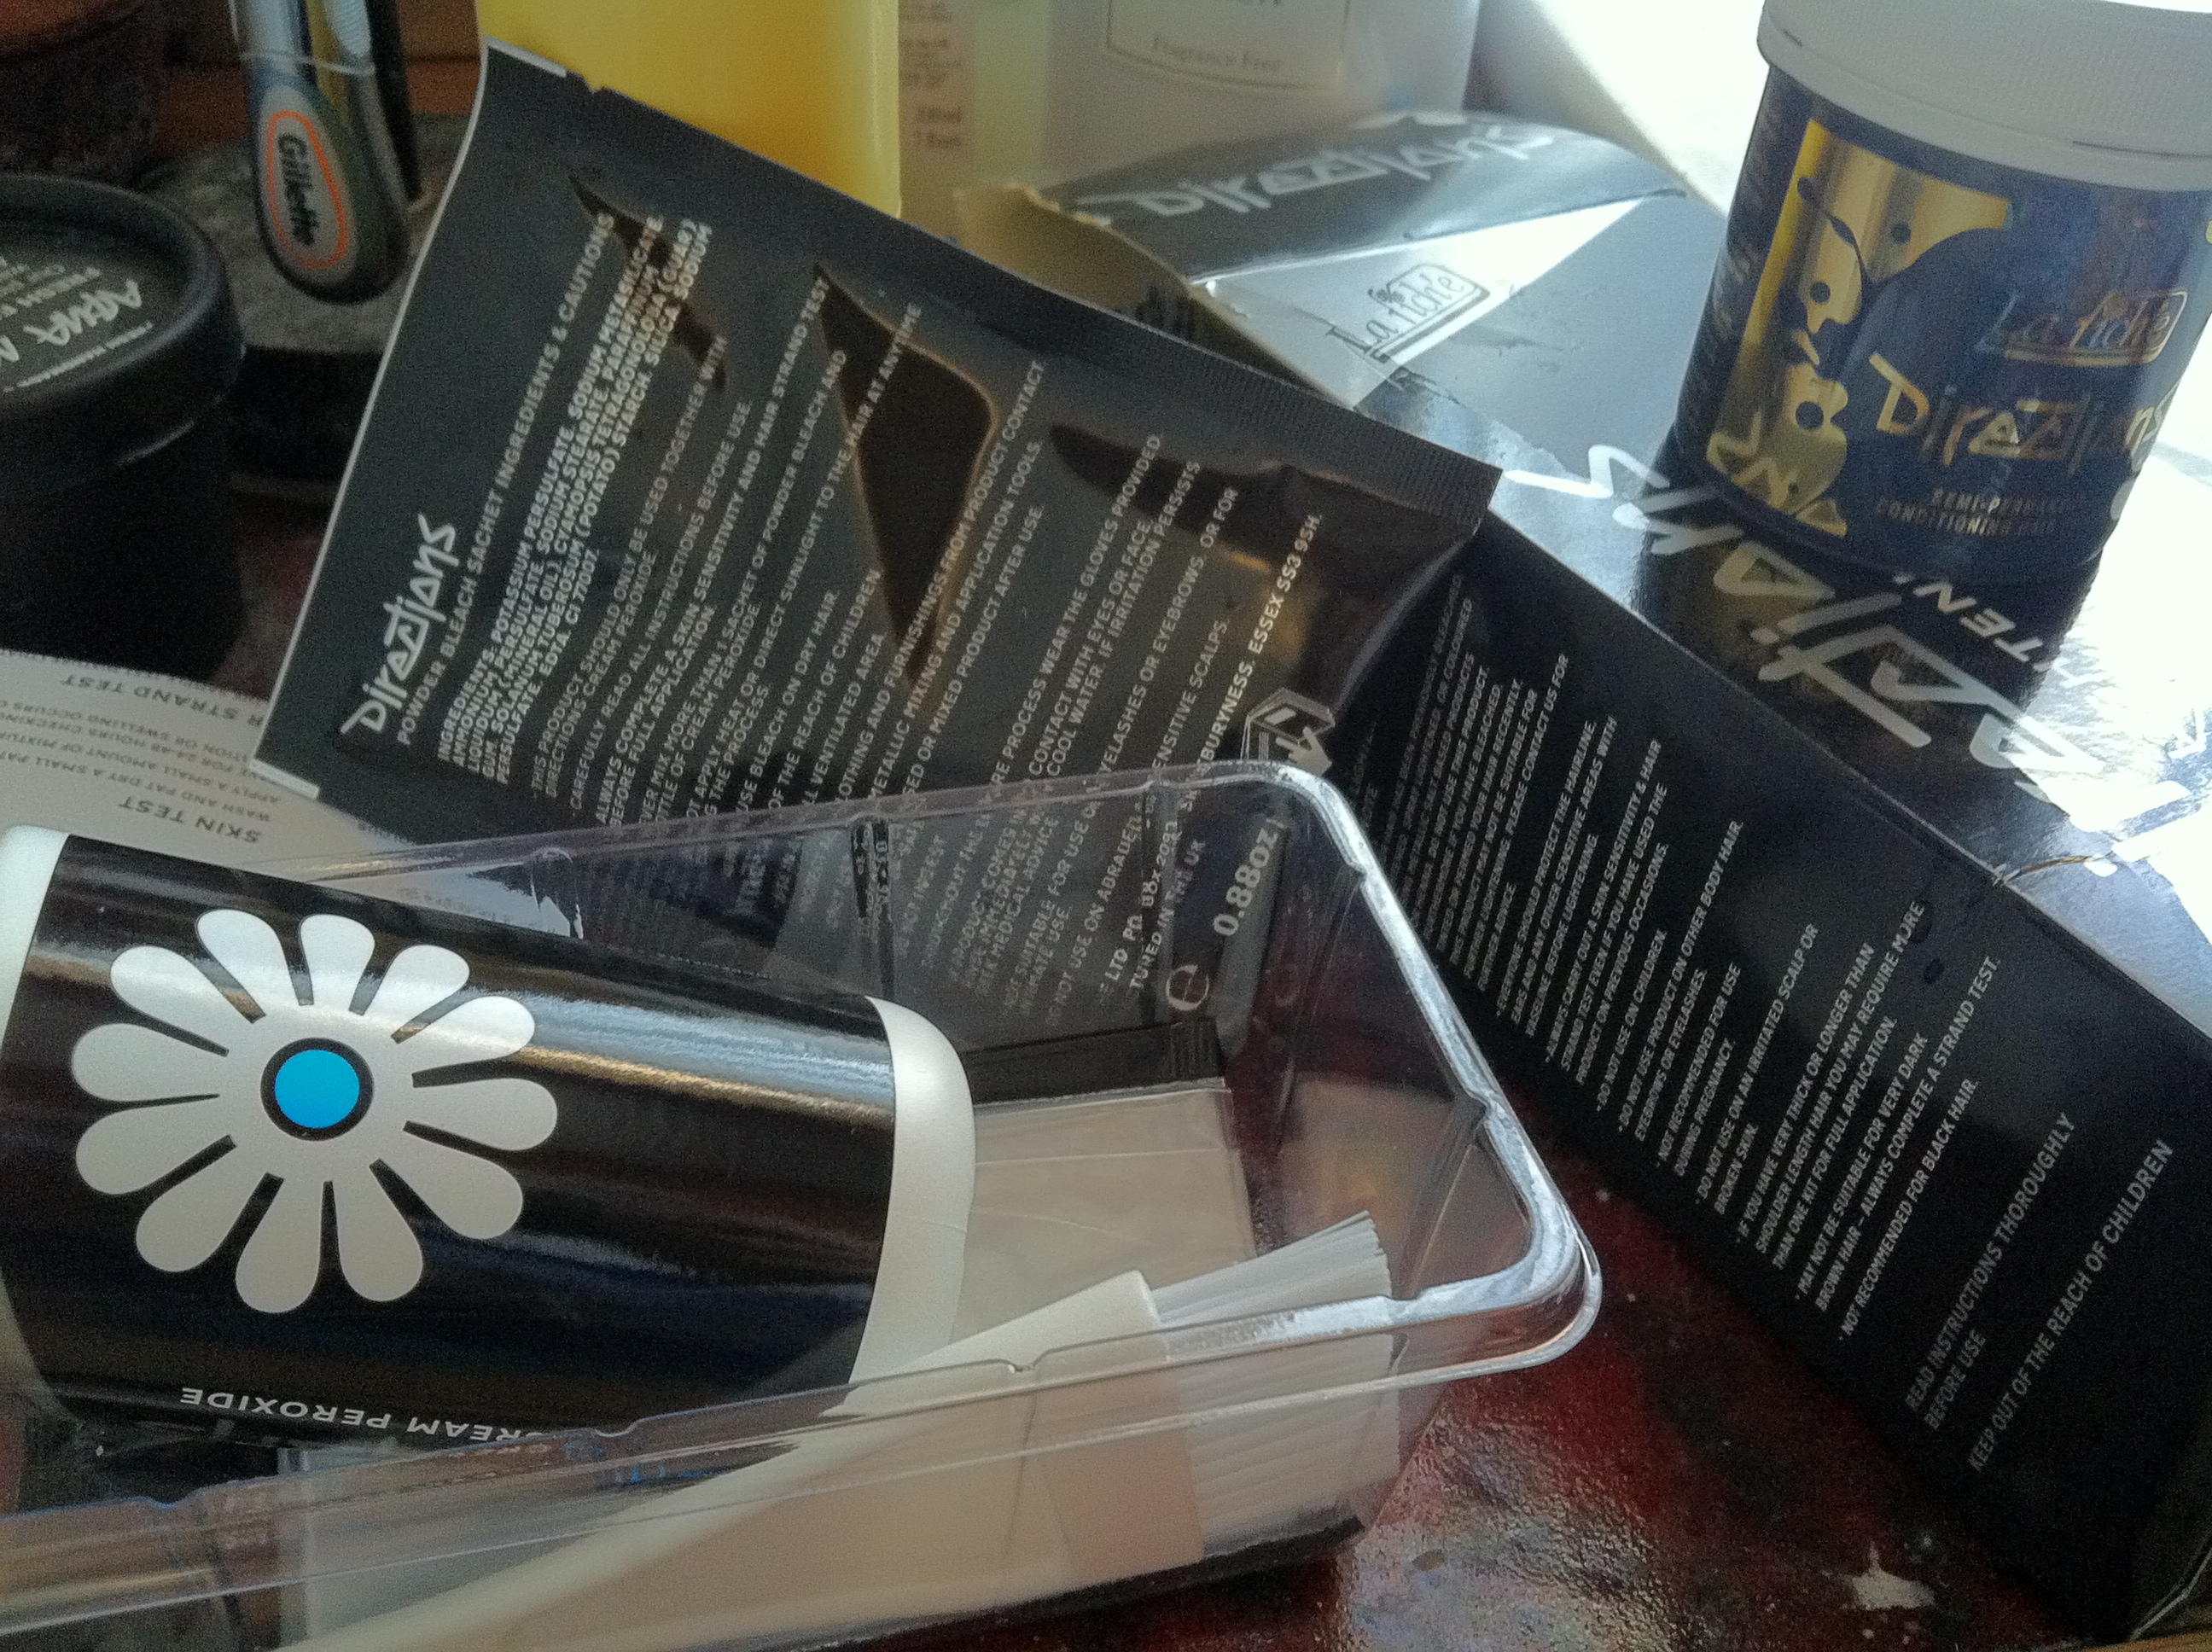
Bleach kit in a box!
Products
After I decided to dye my hair I approached everyone I met with coloured hair that made me envious and asked what they used. Everyone was excited to answer, and all but one person said the same thing: Directions. (One person mentioned Special Effects, which I used as a teen, but I thought I’d give something new a go.) And so, I decided to use Directions Hair Lightening kit in 40 volume (£10) and Directions turquoise colour (£5). (My salon, as wonderful and talented as they are, quoted me at £110. That’s an automatic savings of £95 – though the financial savings came with a risk that I’d totally mess it up!)
These products were really easy to find in London and can also be bought online.
Results of the bleach testing.
Testing
When I studied photography in a dark room we would create test strips to figure out the correct exposure before printing images full-sized. In the long run it helps get correct results without wasting product (in that case paper and chemicals), and in this case the test strip kept me from destroying all my hair.
First I set to work mixing the chemicals according to the instructions on the packets. (That only took a couple of minutes but I thought you should know that I followed the directions.)
Then I parted some of my hair into three sections about 1/2 inch wide each and layered on the bleach, letting the different sections sit for 15, 30 and 45 minutes respectively. When I washed out the bleach I could see how light my hair got with each length of time and I could also feel how damaged it was. (It actually didn’t feel too bad – just dryer than usual.)
Next I put on the coloured dye, waited for 15 minutes, and then I washed it out. Easy peasy! Now I knew how long I had to wait for the bleach to sit to get the vibrancy I wanted.
Note: remember to wear gloves as bleach can irritate the skin and coloured dye, well, dyes it!
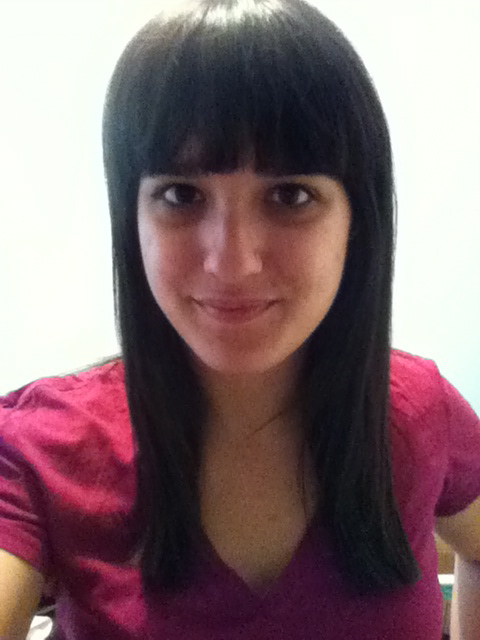
Me with straight hair – don’t get used to it.
Get a hair cut
So at this point I’ve got a small patch of turquoise in my hair. The colour was awesome, but it had to go. I had three options:
- Bleach over this bit, damaging my hair even more. (There’s also no guarantee the colour would stick the same way on hair stripped twice.)
- Bleach around this, hoping the coverage would match.
- Get a hair cut, chopping out the colour and giving me a clean slate to work with.

My flatmate said I looked ridiculous; I agree.
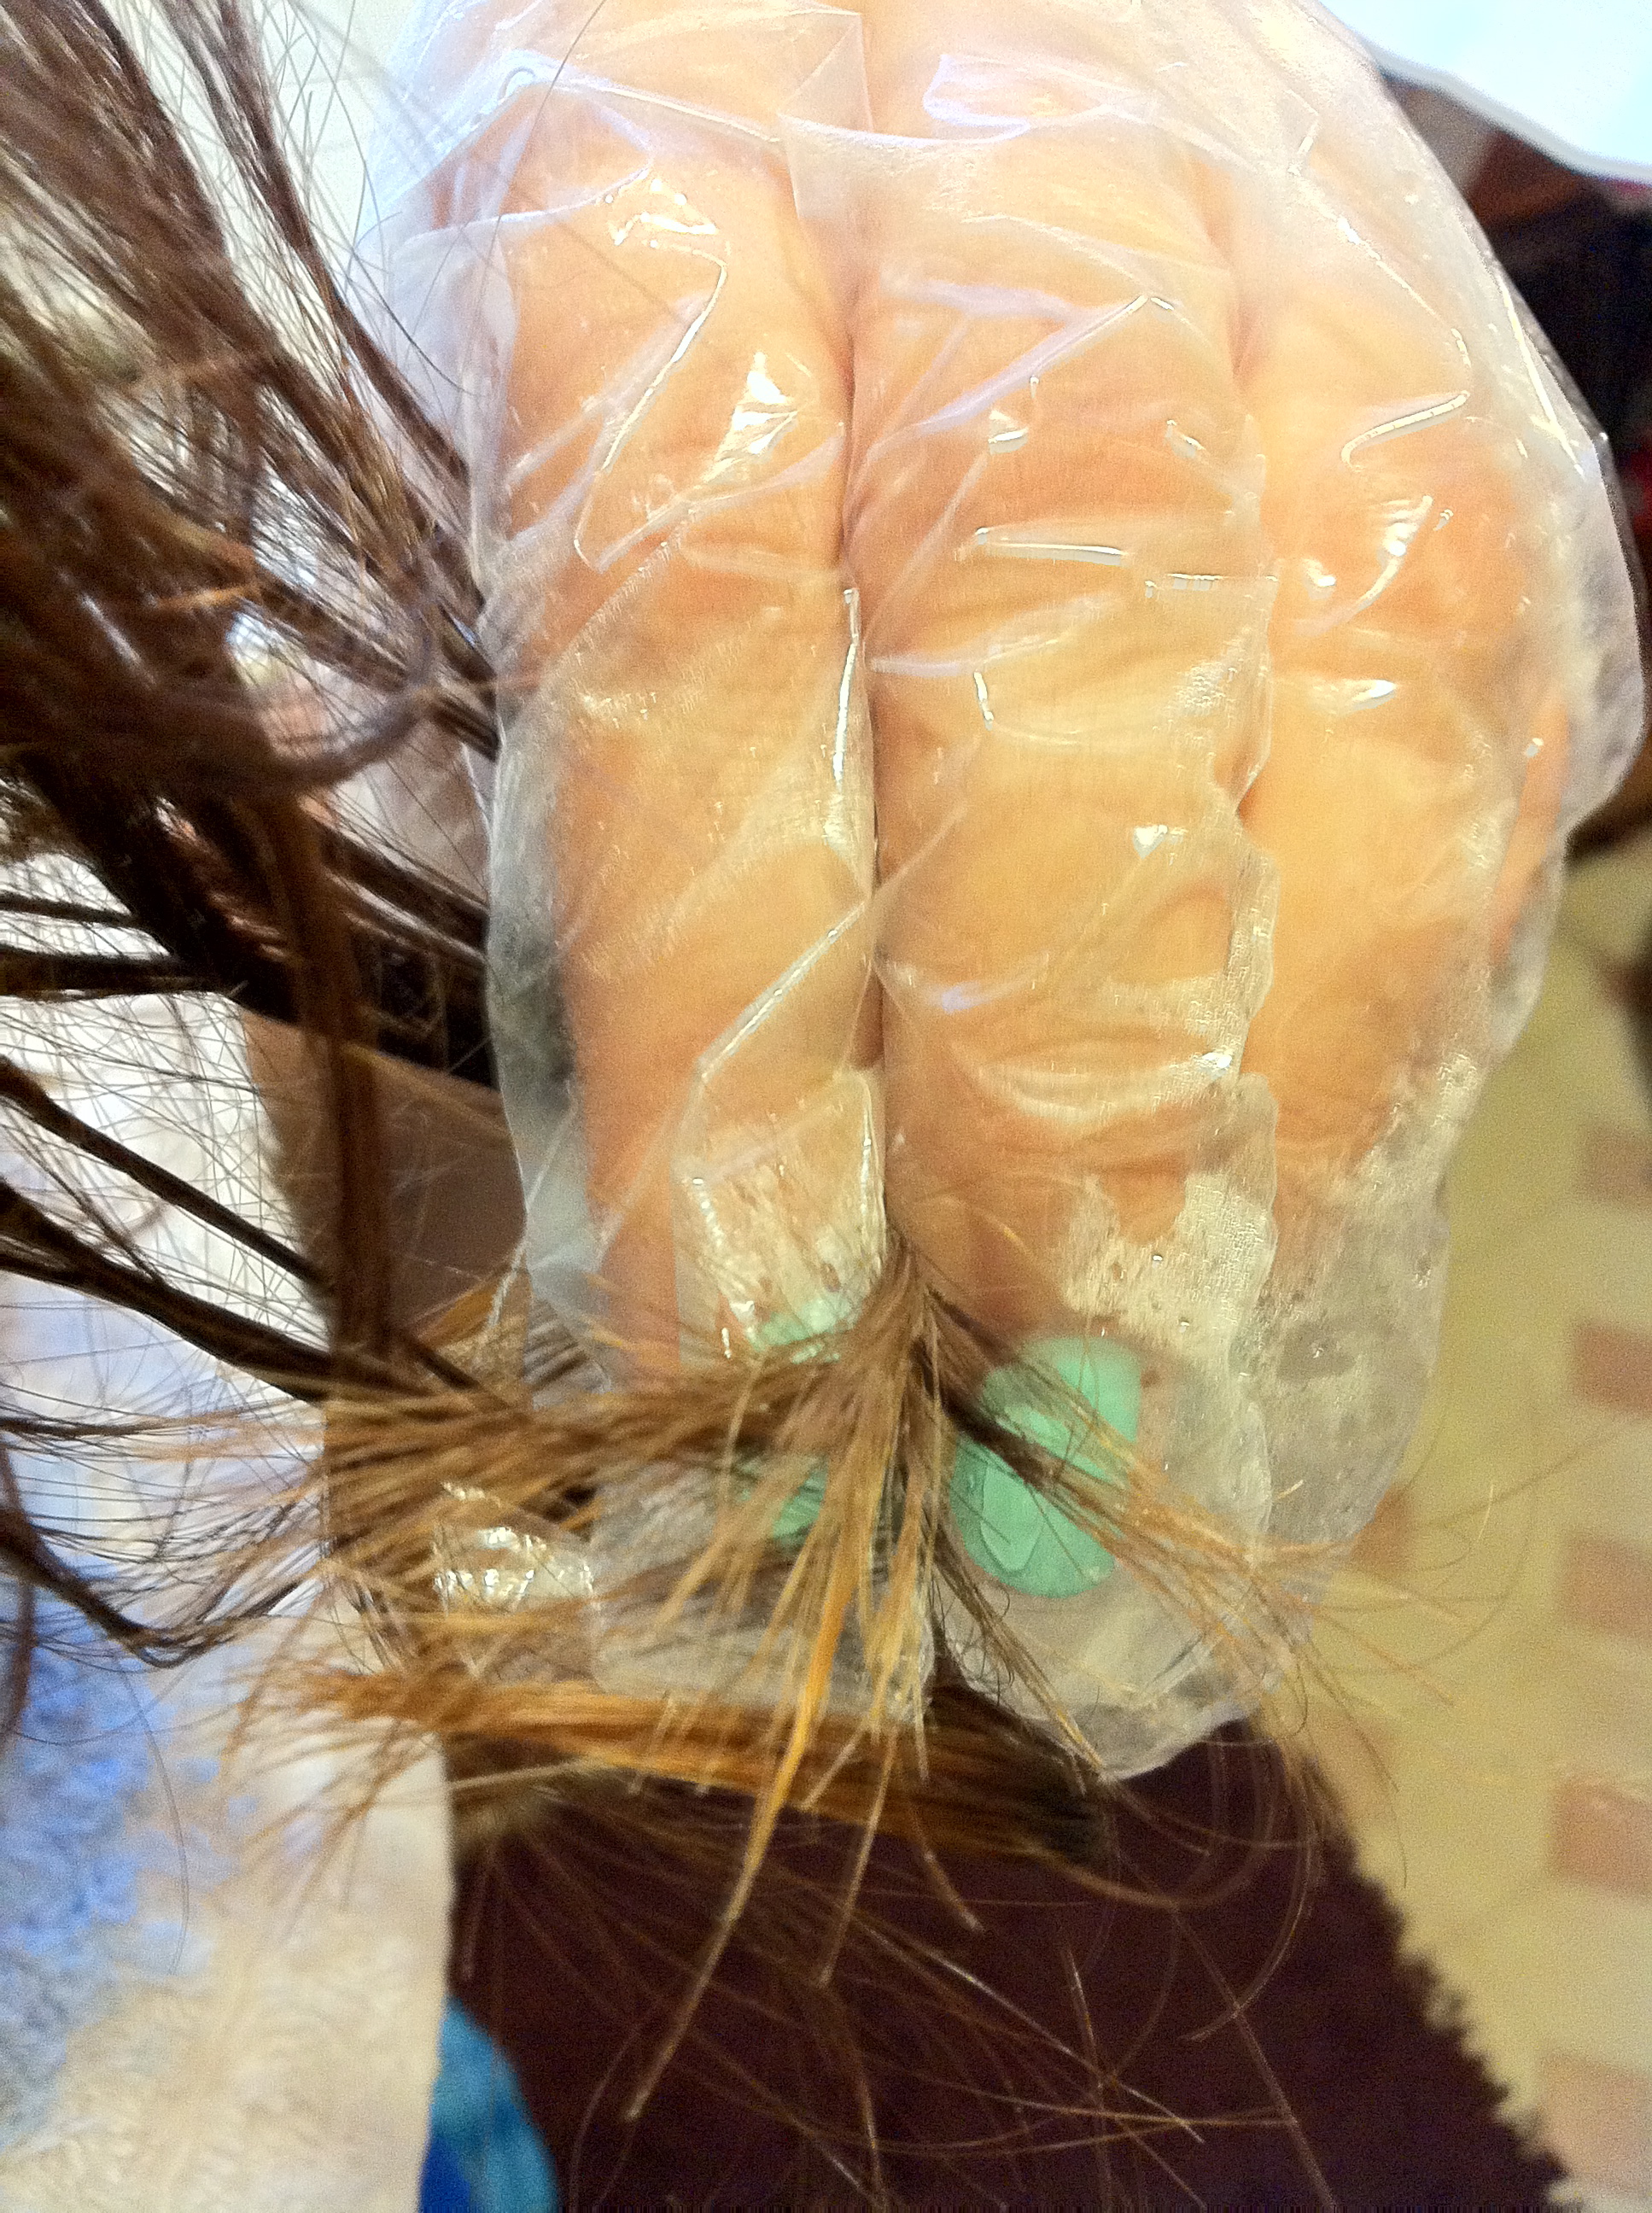
Time to bleach
And so we begin.
To make sure my hair looked evenly “dipped” I used ponytails. And a few of them!
All I made sure to do was tie the elastics in place so that the length of pony tail was the same all around and the ends were even. This made sure the dip was (just about) even all around.
And then I set to work repeating all these steps from the testing: mix bleach, apply bleach, wait, wash, apply colour, wait, wash. I recommend not making a harsh line where you put the bleach in, but instead have it be soft and play with the development times – this way the fade is more gentle.
 Condition

What you do know is that any colour treatments (bleach or coloured dye of any kind) can damage your hair. But what you probably don’t realise is that hair damage can make your hair dry, frizzy and dull. How does one remedy this?
If you’ve got curly/wavy hair like I do then you know the shorter it is, the curlier it gets! You also know that dull, dry and frizzy are every day problems. For the past year I’ve been doing weekly deep conditioning treatments that not only strengthen my hair, but make it softer, less frizzy and a bit shinier.
And that’s why most salons give you a deep conditioning treatment after they dye your hair – they just don’t always tell you that they’re doing it.
I use the Wella SP Smoothen Mask, and that’s what I used again this time. You only need to use the size of a 20p coin (a dime for my American friends) to cover medium length hair, so I used a bit less than this, waited 20 minutes then washed. (I also waited 24 hours to do this because it takes some of the colour out, but you don’t have to wait if you don’t want to.)

Test colour: note the different variations of turquoise.
Results
I’m really happy with how it turned out and incredibly pleased that I didn’t pay extra for someone else to do it. Then again, I can get pretty ballsy when it comes to my hair! I’ve had it every length imaginable, and on two occasions I’ve chopped off 12″+ in one go before having a stylist even it all out.
I hope that’s useful for you, and please let me know if you do anything differently or have any tips to add! This is my first time bleaching at home and I plan to do it again, so any tips & tricks you can add would be appreciated. 🙂

